
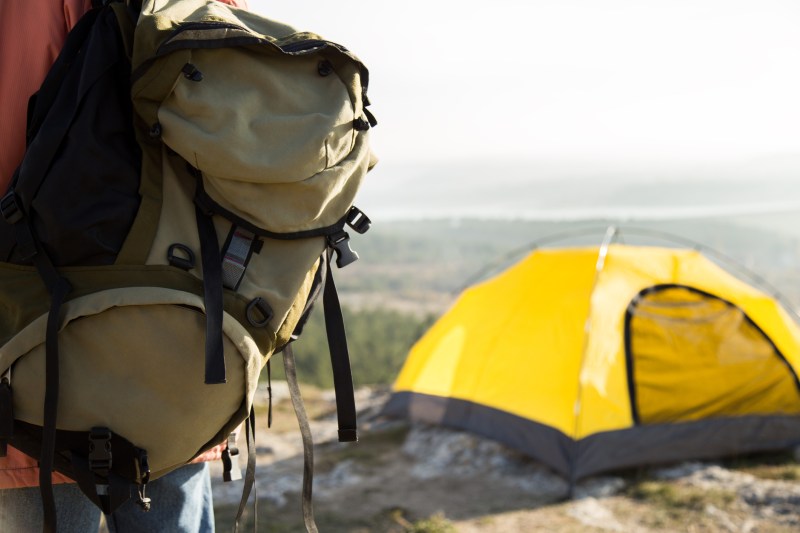
When you’re out for an overnight hike in the wilderness, you need to be amply prepared for the experience. At a minimum, that means having a map for self-navigation, plus packing water, food, a good tent, your best hiking boots — you get the picture. You’ll also want to make sure you pack things properly so you don’t create an overly cumbersome pack, which can lead to a miserable slog along the way, or worse, injury and strain that can bring your planned outdoor adventures to a sudden end.
Learning how to properly pack a camping backpack is just as important as what you put in it. And learning how to pack a tent inside a backpack will allow you to focus on the things that really matter, like spotting wildlife along the way, not tripping over tree roots, and keeping your Instagram stories fresh with new videos from the backcountry. Here’s the low-down on how to pack a tent in a backpack like a pro in six easy steps.

How to pack a tent in a backpack (internal frame)
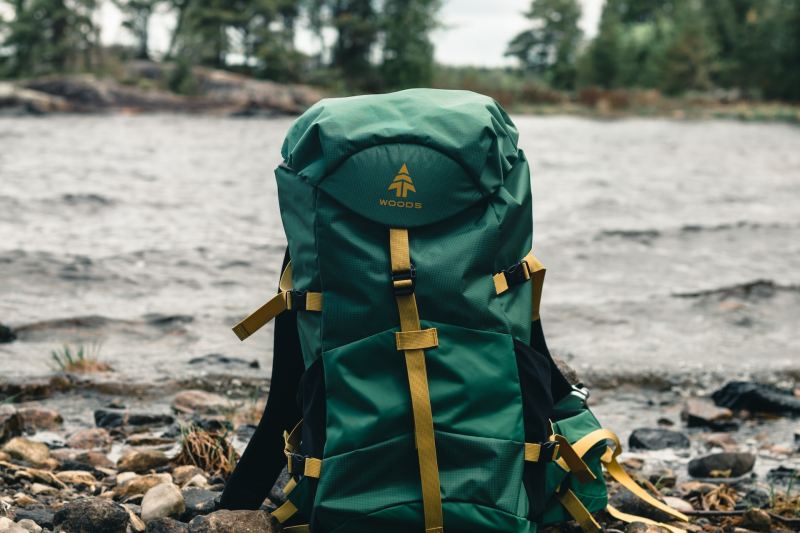
Step 1: Selecting a backpack
Most backcountry campers agree that a backpack with an internal frame is the best way to go. Internal frame backpacks are roomier, and the extra volume makes it easier to pack a tent inside. If you haven’t purchased a backpack or tent, make sure the sizes are compatible before buying. If you already have a tent and it’s on the larger side, you can use a compression bag to make the tent as compact as possible inside your pack.
Step 2: Preparing the tent
Before packing your tent, make sure it’s bone-dry since packing and carrying a wet tent is very cumbersome. If you’re unsure if it’s completely dry, set it up in your backyard or somewhere with lots of sunlight to let it air-dry for an afternoon.
When you’re finally ready to pack it, lay out the tent to its full length on a flat surface. Keep the tent poles in the bag, and place them alongside the tent. Adjust the tent so its width is the same as that of the tent pole bag.
Step 3: Rolling the tent
Place the bag of tent poles onto the tent, and begin rolling up the tent and bag together into a tight “burrito.” Use the poles to keep the rolling tight, and make sure everything stays in line, so the tent poles don’t start to jut out above the tent and vice versa. After a few rolls, add the tent peg bag and continue rolling. Go slowly to ensure you keep things as tight and squared off as possible.
Step 4: Packing it in
Take the completed tent roll and stuff it inside the tent bag. The poles and pegs in the center will keep things compact and add central support.
Step 5: Preparing your backpack
Leaving the tent aside for the moment, pack some of the other items you’ll be carrying inside your backpack. Place the heavier items towards the bottom and the lighter objects toward the top.
Step 6: Packing your tent inside the backpack
Aim to place the tent in the middle of the backpack. Placing it in the middle puts the least strain on your back since your tent is one of your heavier items. Ideally, your sleeping bag should be at the very bottom of the pack, and your tent should be just above it.
In general, you can pack the tent vertically or horizontally. A vertical position allows for easy removal of the tent when unpacking, while a horizontal position allows you to pack other items on top of the tent. The best placement is whichever feels most comfortable for you.

How to pack a tent in a backpack (external frame)
Knowing how to pack a tent in a backpack with an external frame is similar, with a few subtle differences. You’ll still roll and prepare the tent in the same manner as you would using an internal frame backpack. The main difference is the tent’s placement in your pack, or rather on your pack. Ideally, place the tent on the exterior. External frame backpacks are specifically designed for this. The best placement is at the bottom of the backpack, as this ensures less stress on your back when you’re walking.
Just bear in mind that keeping the tent on the outside exposes it to extra risks — snagging on tree branches or saturation if it rains, for example. There’s also the danger of the tent falling off the backpack, leaving you in a bad situation. Make sure you tie a secure knot from your backpack to your tent to avoid it falling off and being left stranded.
Miscellaneous tips for mastering how to pack a tent in a backpack
If you’re really looking to take your “how to pack a tent in a backpack” expertise to the next level, consider splitting up your tent components between hikers. If you’re hiking with a partner (and plan to sleep in the same tent), divvy up the parts so one person is carrying the tent and rainfly while the other carries the poles and stakes. This helps distribute both your loads.
For minimalist ultralight hikers, fastpackers, and anyone looking to “go light,” consider skipping a stuff sack altogether for your tent. If you’re a featherweight packer, there’s a good chance you’re hiking with a small, streamlined pack anyway, and a loose tent will likely fit perfectly wedged between your other
Editors' Recommendations
- This easy trick tells you which merino wool base layer is right for your activity
- How to layer outdoor clothing like a pro, according to a U.S. Special Operations Forces survival expert
- The North Face is now making GORE-TEX denim because why not
- Why you need to be just as wary of moose as bear attacks (and what to do when you encounter one)
- Time to wake up: Climate change gave us our hottest summer ever and the Earth is in meltdown, U.N. says


